
Introduction
Have you ever opened your jewellery box, excited to wear your favorite silver necklace, only to find it looking dull, dark, and disappointingly tarnished? Or perhaps you’ve pulled out the special occasion silverware for a family dinner and noticed it has lost its brilliant, celebratory gleam. It’s a common problem that every silver owner faces.
Don’t worry; that gorgeous, brilliant shine is not lost forever, and restoring it is much easier than you might think. Before you rush out to buy expensive, chemical-laden polishes, the secret to reviving your treasured items might already be sitting in your kitchen pantry. The core question on your mind, how do you clean silver, can be answered with a few simple household ingredients and some expert-backed techniques.
In this guide, we’ll dive deep into five of the best and most reliable methods to bring your silver back to its former glory. You’ll learn the science behind why these simple tricks work so well, which method is best suited for different types of silver, and the pro tips that ensure a perfect, lasting shine every single time. Let’s explore these easy solutions together and make your precious silver gleam like the day you first got it, with a little expert guidance from Shri Krishna Jewels.
✨ Tip #1: The Toothpaste Trick for a Quick Shine
Now, let’s talk about a cleaning hack that is as famous as it is controversial: using toothpaste. You’ve likely heard of this one, and it often comes up in discussions about how do you clean silver using everyday items.
✅ A non-gel, non-abrasive toothpaste works wonders on dull silver
The reason this method works is that toothpaste contains a very mild abrasive, typically silica, designed to scrub plaque from teeth. This same gentle scrubbing action can remove tarnish from silver. However, this is also where the risk lies. If the toothpaste is too abrasive or used too aggressively, it can leave behind thousands of microscopic scratches on the silver’s surface, permanently dulling its finish over time.
✅ How to Safely Use Toothpaste for a Speedy Shine:
Before you grab any old tube from your bathroom, it’s critical to select the right kind.
- Choose the Right Paste: Select a simple, non-gel, non-whitening white paste to avoid harsh abrasives.
- Apply a Small Amount: Put a pea-sized dab of toothpaste onto a clean, soft cloth.
- Rub Gently: Use gentle, straight back-and-forth motions to rub the tarnished spot.
- Rinse Thoroughly: Wash off all toothpaste residue under warm, running water.
- Dry Completely: Buff the item dry with a soft cloth to restore its brilliant shine.
✅ Ideal for: Small touch-ups on jewellery and chains
This method is best reserved for small-scale emergencies. It’s perfect for shining up a dull spot on a silver ring, bringing the sparkle back to a pair of simple stud earrings, or cleaning the clasp on a necklace. It’s not recommended for large, flat, or highly polished items like serving trays, teapots, or picture frames, where micro-scratches would be much more visible and could ruin the mirror-like finish.
📌 In a hurry? This is your go-to method for fast results with minimal effort. When you need an immediate answer for how do you clean silver before heading out the door, a dab of the right toothpaste can be a lifesaver.
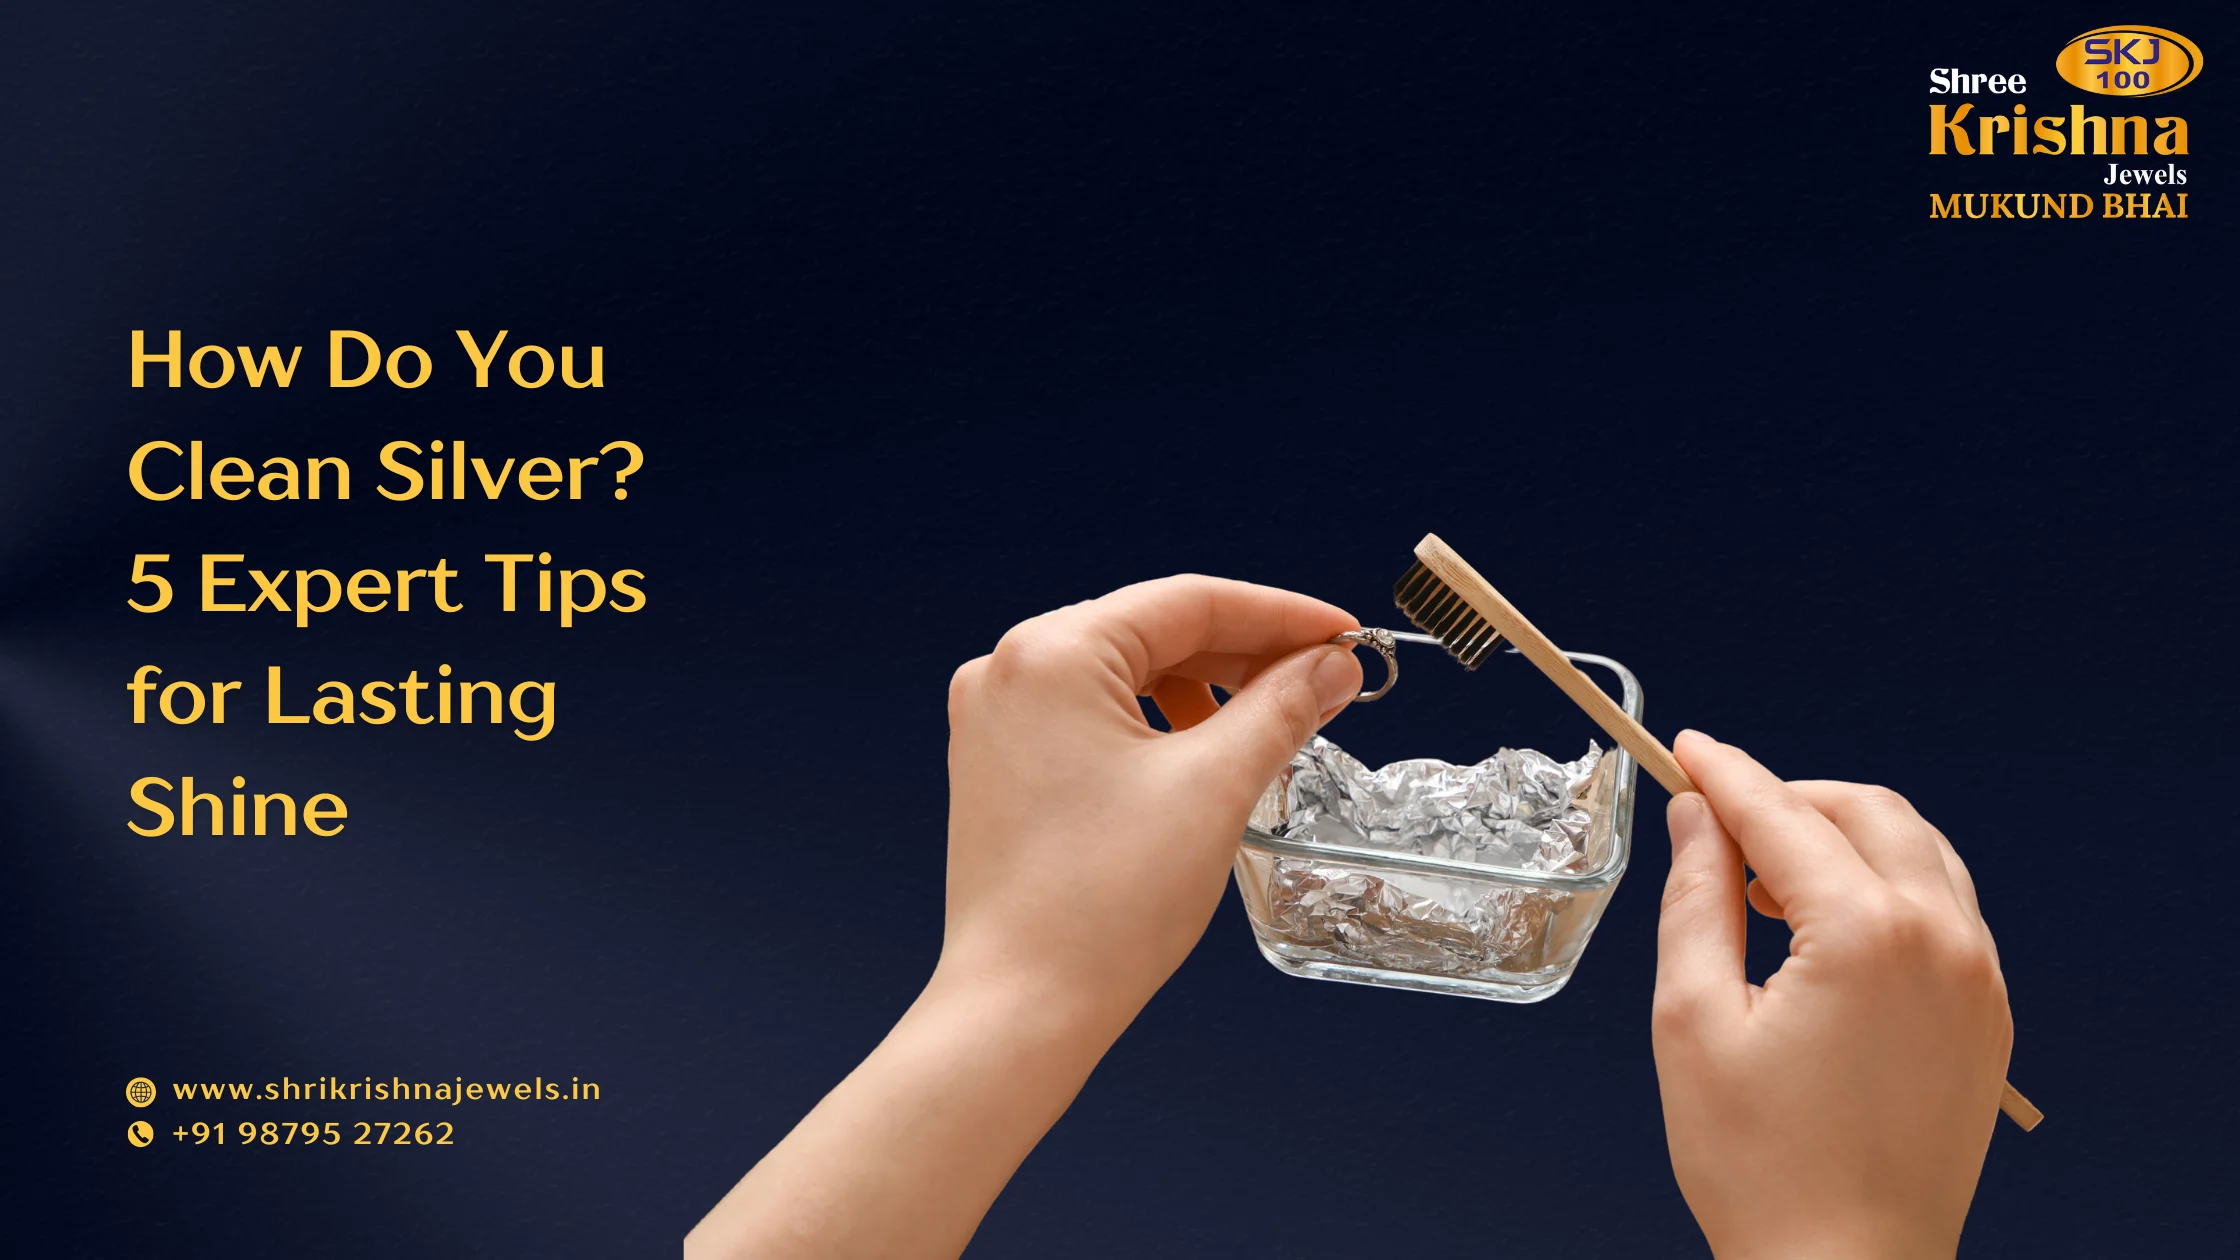
✨Tip #2: The Magical Baking Soda and Aluminum Foil Method
First up is a method that feels like a science fair experiment but works like professional magic. By combining a few simple kitchen staples, you can create a powerful electrochemical reaction that lifts tarnish away without any vigorous scrubbing or polishing. This is one of the most satisfying and effective answers to the question of how do you clean silver.
✅ Line a bowl with foil, add baking soda and hot water; let science do the work
This process, known as ion exchange, is a gentle giant in the world of silver cleaning. Tarnish is technically silver sulfide, which forms when silver reacts with sulfur compounds in the air. In this method, the aluminum foil and baking soda work together in hot water to create a reaction that encourages the sulfur atoms to leave the silver and bond with the aluminum instead.
✅ The Step-by-Step Guide to a Tarnish-Free Soak:
To get started, you’ll just need a few things: a bowl (glass or ceramic is best), aluminum foil, baking soda, salt (optional), and very hot water.
- Step 1: Line a bowl completely with aluminum foil with the shiny side facing up.
- Step 2: Place your silver inside, ensuring each piece makes contact with the foil.
- Step 3: Sprinkle generously with baking soda and a pinch of salt for extra power.
- Step 4: Carefully pour in very hot water until the items are fully submerged.
- Step 5: Let it soak for 5-15 minutes as you watch the tarnish magically disappear.
- Step 6: Use tongs to remove the hot items, then rinse thoroughly under cool water.
- Step 7: Buff completely dry with a soft, lint-free cloth to prevent water spots.
✅ Best for: Silver jewellery, small items, and lightweight ornaments
This soaking method is fantastic for items with intricate designs, crevices, and hard-to-reach places. Think of detailed necklace chains, engraved charms, or delicate filigree earrings. However, it’s important to know when not to use this method. Avoid using it on silver pieces with glued-in gemstones or porous stones like pearls, opals, turquoise, or coral, as the hot water and chemical reaction can damage these delicate materials.
💡 Tip: For heavily tarnished pieces, adding that pinch of salt really does enhance the reaction. The salt helps create a more effective “salt bridge,” which accelerates the transfer of the sulfur ions from the silver to the aluminum foil, giving you a faster and more dramatic result.
✨Tip #3: The All-Natural Vinegar and Baking Soda Soak
If you prefer a greener, more eco-friendly approach to cleaning, this next method is for you. By harnessing the power of two of the most versatile cleaning agents in your home, white vinegar and baking soda, you can create a potent, all-natural solution to dissolve tough tarnish.
✅ Soak silver in a mix of vinegar and baking soda for deep cleaning
The magic here lies in the chemical reaction between the acidic vinegar and the alkaline baking soda. This combination creates a fizzing action that works to break down and loosen the silver sulfide (tarnish) from the surface of the silver. It’s a gentle yet powerful soaking method that does most of the hard work for you, making it a great option for those who want to avoid both commercial chemicals and vigorous scrubbing.
✅ Creating Your Natural Cleaning Solution:
This recipe is simple, but the proportions are important for getting the best results.
- Step 1: Place your silver items into a glass bowl or dish.
- Step 2: Pour in enough white vinegar to completely cover all the pieces.
- Step 3: Add baking soda to the vinegar (approx. 4 tbsp per 1 cup of vinegar).
- Step 4: Let the silver soak in the fizzing solution for one to three hours.
- Step 5: Remove the items and rinse them thoroughly under cool water.
- Step 6: Gently wipe away any residue and buff completely dry with a soft cloth.
✅ Safe for antique or delicate silver if used carefully
This method is generally considered safe for most silver, including older or more delicate pieces, because it doesn’t involve harsh abrasives. However, a word of caution is still necessary. Because vinegar is an acid, you should always be careful. If you’re cleaning a very valuable or antique piece, it’s wise to do a small patch test on an inconspicuous area first. And just like the foil method, you should never use this soak for silver that features porous gemstones like turquoise, pearls, or opals, as the acid can cause irreparable damage.
💡 Tip: For maximum effect on stubborn tarnish, let the silver soak for the full 2–3 hours. The extended time allows the gentle chemical reaction to penetrate and break down even the most resilient layers of tarnish, often saving you from any follow-up polishing.
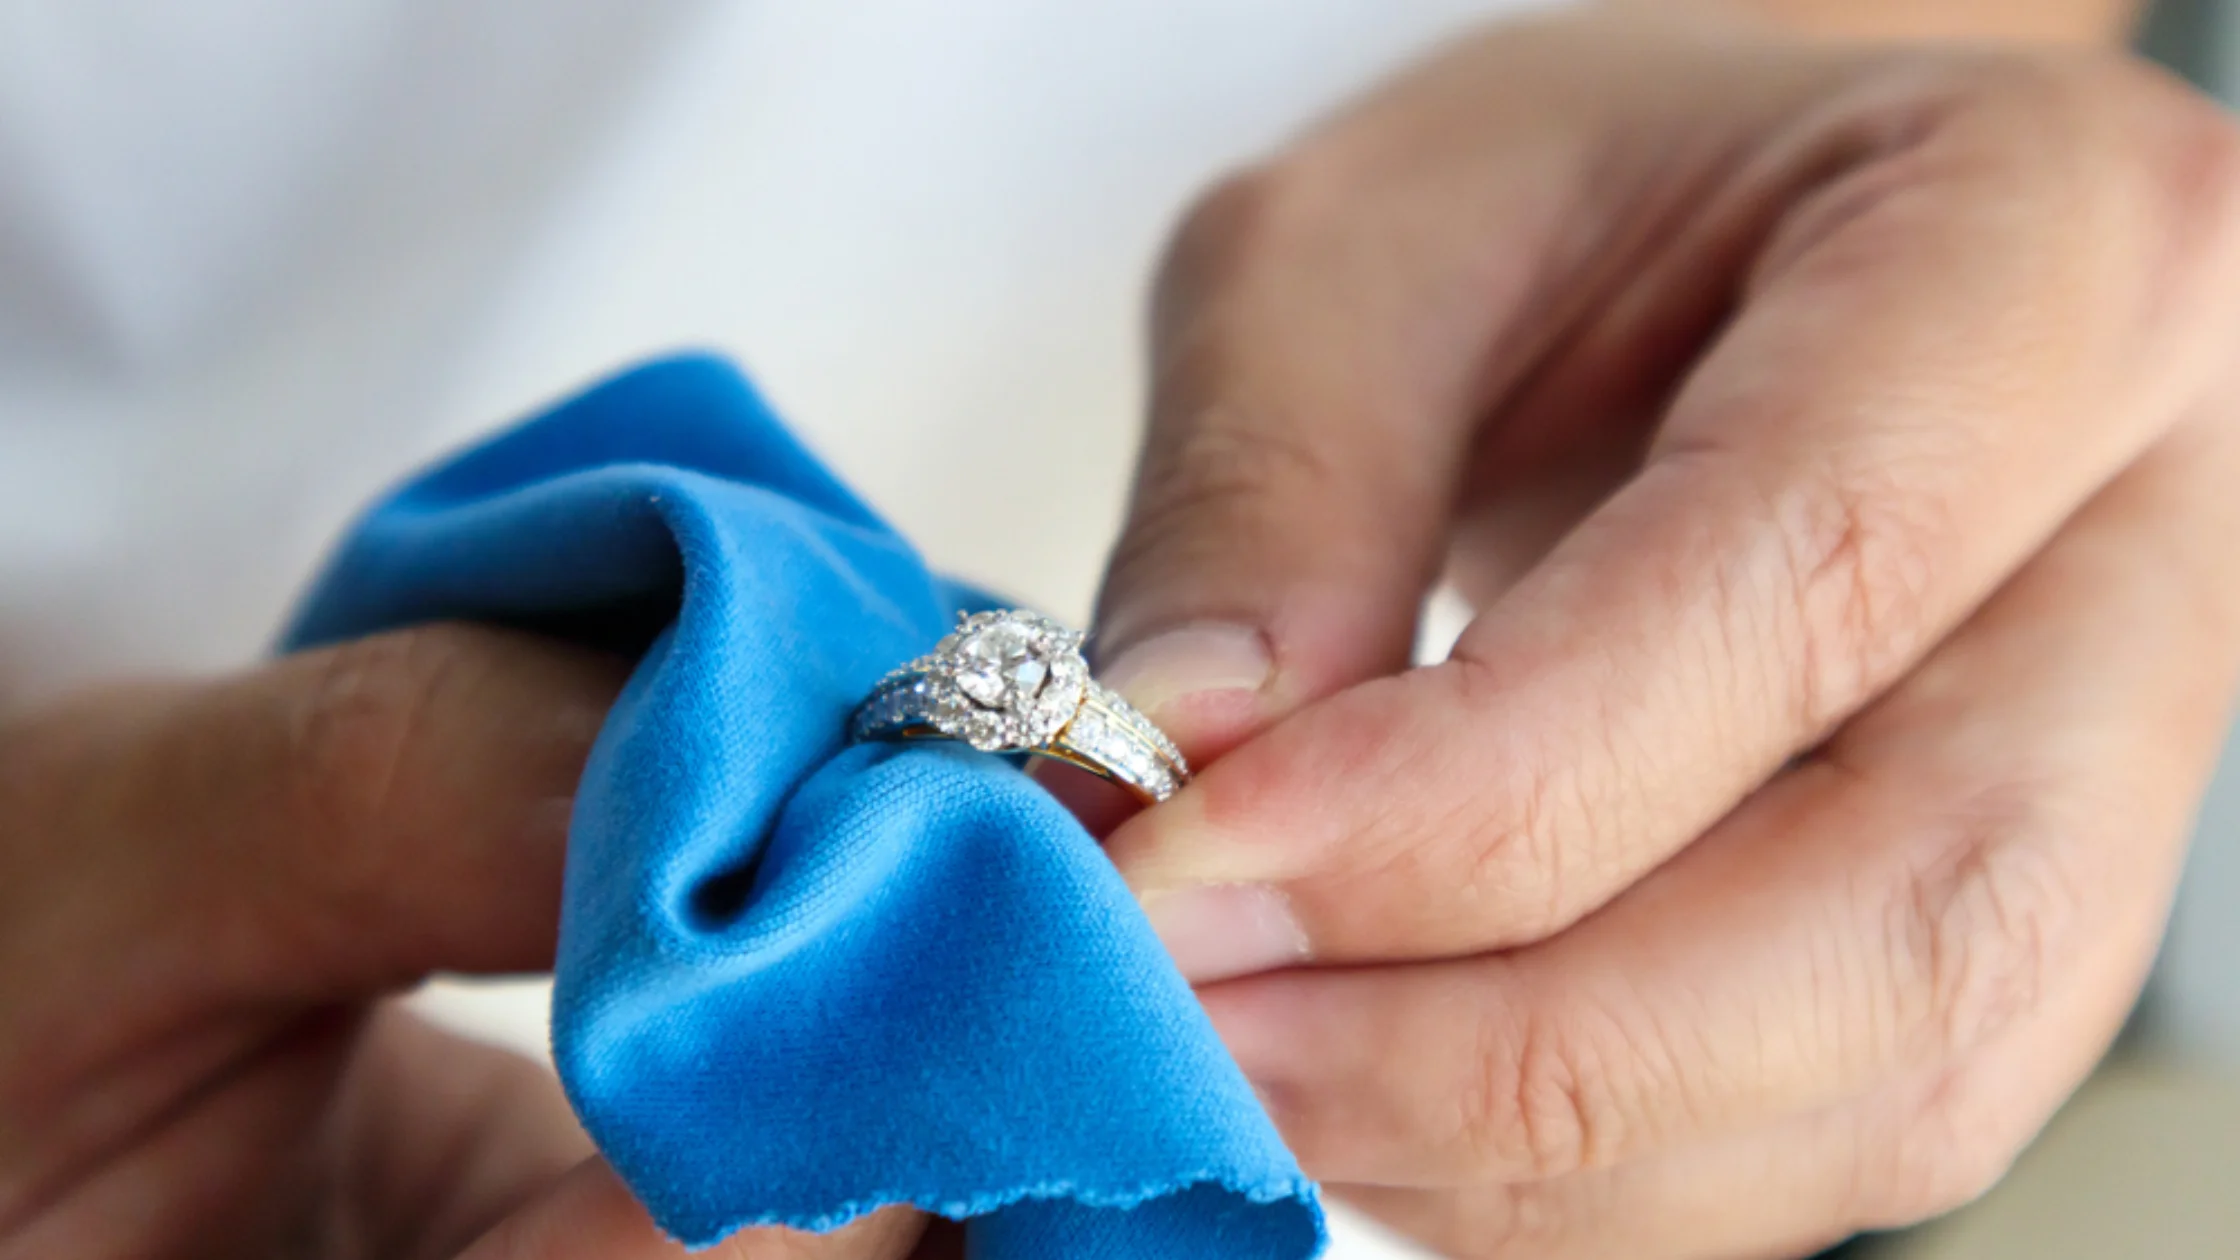
✨Tip #4: Using Silver Polishing Cloths Like a Professional
Sometimes, the simplest and most direct approach is the best one. If you ask a professional jeweler or an antique silver dealer how do you clean silver safely and effectively, they will almost always recommend a high-quality silver polishing cloth.
✅ Designed specifically to clean and protect silver surfaces
These clothes are cleverer than they look. Most are actually a two-part system. They typically feature an inner cloth (often white) that is treated with a very fine, non-toxic polishing compound and an outer, softer cloth (often a darker color like grey or blue) that is untreated. The inner cloth does the cleaning and tarnish removal, while the outer cloth is used for the final buffing and shining. The polish embedded in the cloth also leaves behind an invisible anti-tarnish shield, which helps to slow down future discoloration.
✅ The Pro Technique for a Flawless Finish:
Using a polishing cloth is easy, but a few simple techniques can elevate your results from good to professional.
- Use the Inner Cloth First: Gently rub the treated inner cloth on the tarnish.
- Work in Straight Lines: Use straight, back-and-forth motions rather than circles.
- Turn the Cloth Often: As the cloth turns black, move to a clean section to avoid reapplying tarnish.
- Buff with the Outer Cloth: Use the softer, untreated outer cloth to buff the piece to a high shine.
- Never Wash the Cloth: Washing the cloth will remove its special polishing agents, making it useless.
✅ Great for regular maintenance and long-term shine
While other methods are great for heavy-duty tarnish removal, polishing cloths are unbeatable for regular, preventative maintenance. Giving your silver a quick wipe-down with a polishing cloth after you wear it or use it can remove skin oils, lotions, and moisture that accelerate tarnishing. This simple habit is the best way to keep your silver looking pristine and significantly reduce the need for more intensive cleanings down the road. This proactive approach is a smart answer to how do you clean silver.
📌 Keep one in your jewellery box and kitchen drawer; they’re the easiest, safest, and most effective way to stay polished! Investing in a good cloth is one of the best things you can do for your silver collection.
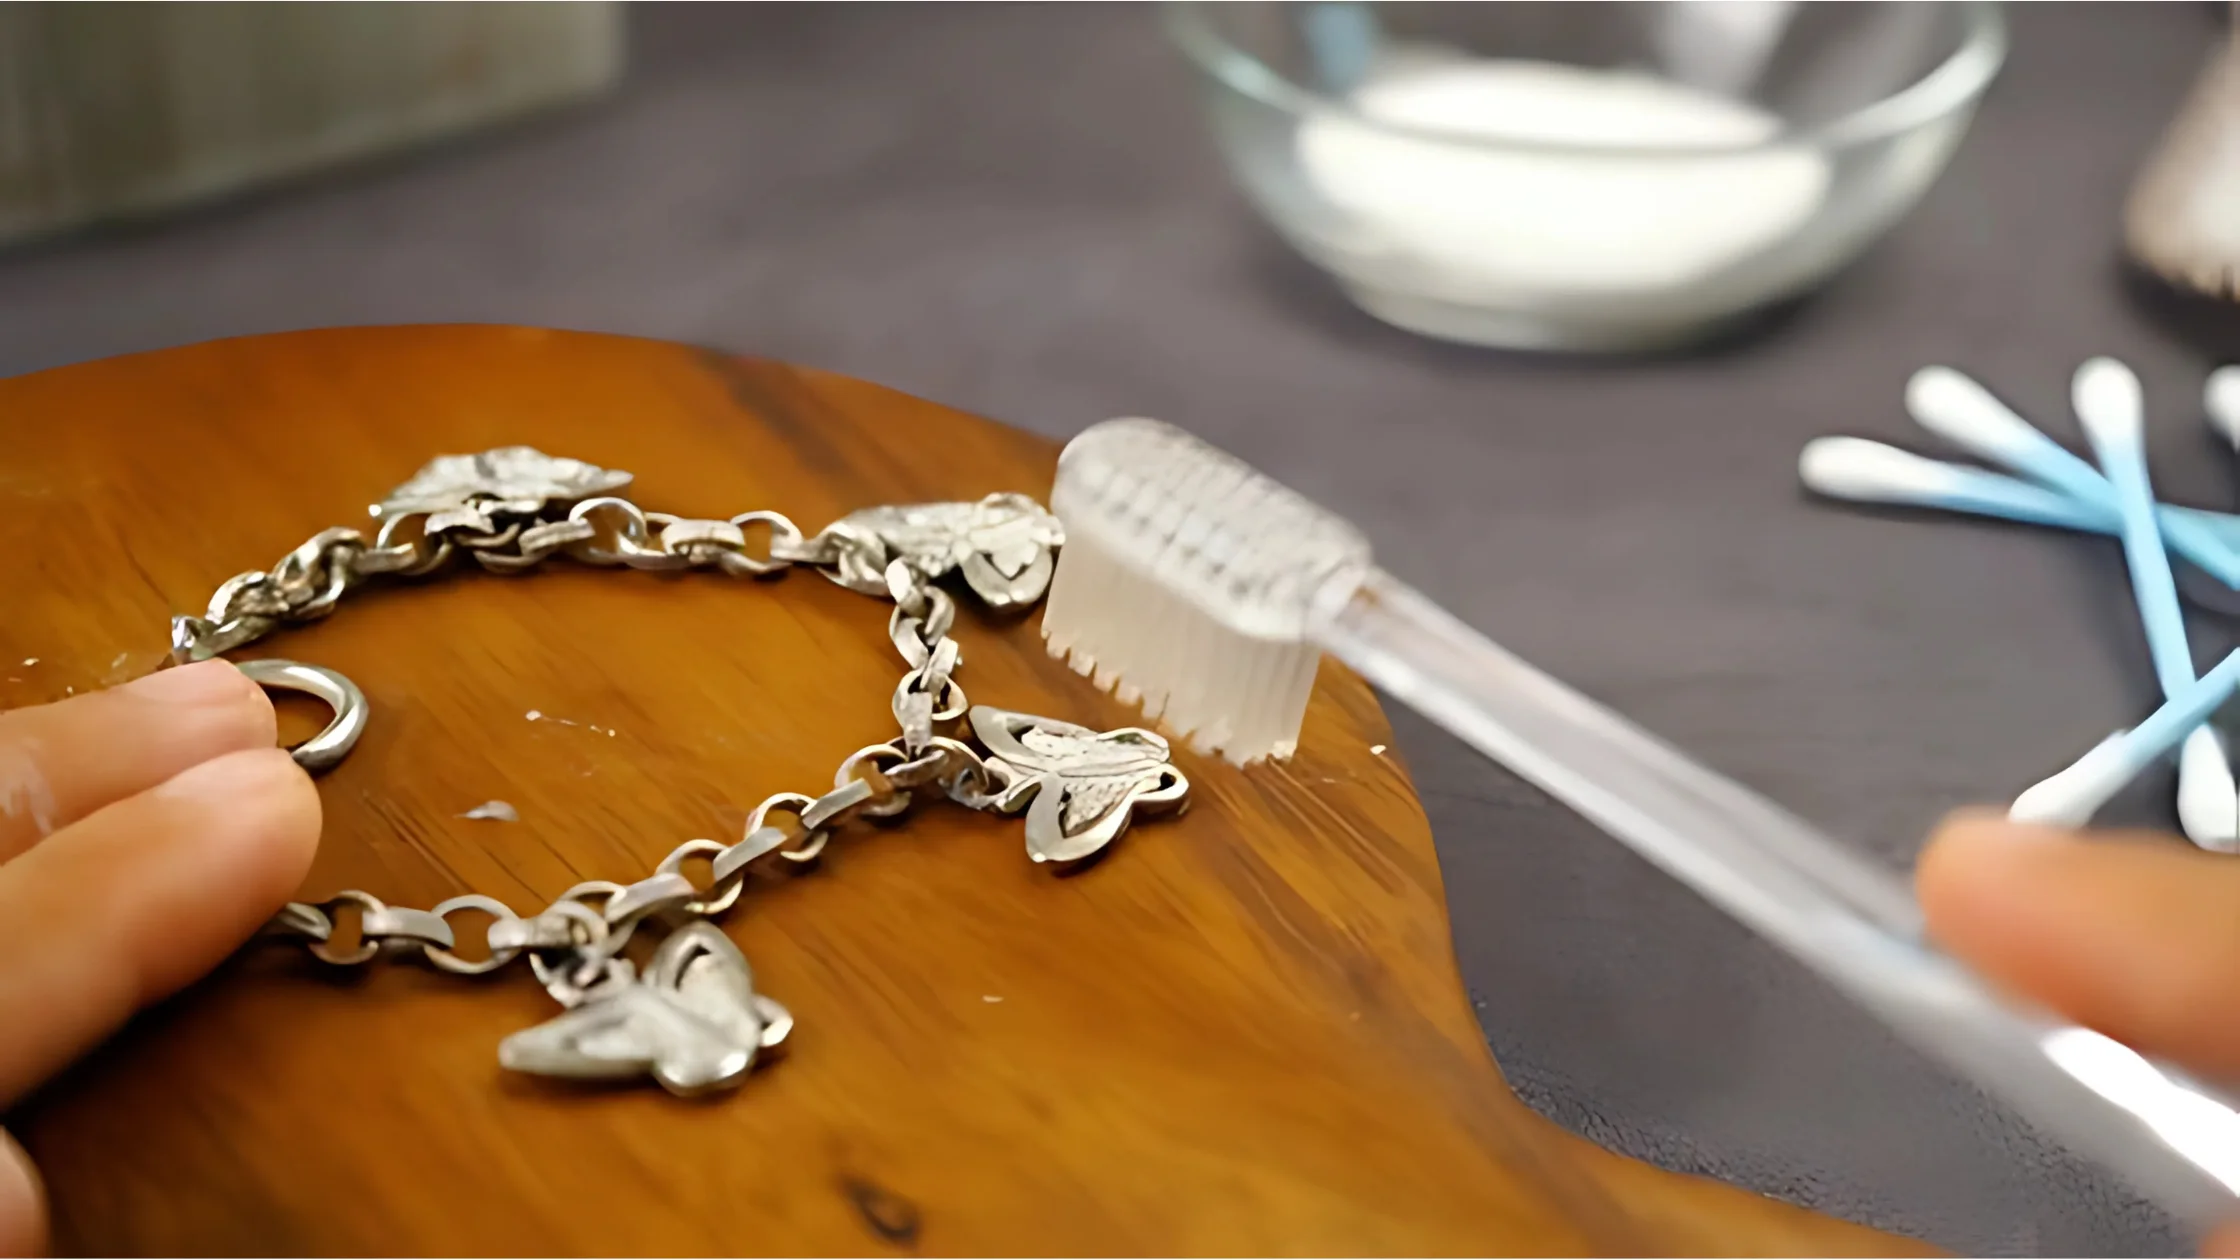
✨Tip #5: Simple Dish Soap and Water for Gentle Cleaning
Sometimes, the answer to the question of how do you clean silver isn’t about tackling heavy, dark tarnish, but simply about removing everyday grime. Fingerprints, lotions, dust, and food residue can make silver look dull and dirty, even if it isn’t technically tarnished.
✅ Mild soap and warm water can clean lightly tarnished silver
This method should be your first line of defense, especially for jewellery that you wear often. It safely removes the daily buildup that, if left unchecked, can actually accelerate the tarnishing process. It’s important to distinguish this from polishing; this method cleans but does not remove oxidation (tarnish). Think of it as giving your silver a refreshing bath rather than a deep chemical peel. For routine care, this is an essential part of knowing how do you clean silver.
✅ The Process for a Safe and Gentle Wash:
The key to this method is to be gentle at every single step.
- Step 1: Create a bath of warm water with a few drops of mild dish soap.
- Step 2: Let your silver soak for a few minutes to loosen any grime.
- Step 3: Use a very soft cloth to gently wipe the surface of each item.
- Step 4: For crevices, use an ultra-soft toothbrush to gently scrub away dirt.
- Step 5: Rinse each piece completely under warm, running water to remove soap residue.
- Step 6: Dry immediately and thoroughly with a lint-free cloth to prevent spots.
✅ Perfect for everyday cleaning or after wearing silver jewellery
This is the perfect cleaning routine for silver you use or wear frequently. Make it a habit to wash your silver flatware immediately after a meal. For jewellery, giving your rings, bracelets, and necklaces a quick wash every few weeks can keep them looking bright and feeling clean against your skin. This simple, consistent care is a fundamental skill for anyone wondering how do you clean silver for the long term.
💡 Tip: Always dry your silver thoroughly to prevent water spots and slow down future oxidation. For an extra-pristine finish, you can even use a hairdryer on a low, cool setting to ensure every last bit of moisture is gone from tiny crevices and chain links before you store it away.
Conclusion
Restoring the beautiful, brilliant luster of your favorite silver pieces doesn’t have to be a daunting chore filled with harsh chemicals and endless scrubbing. As we’ve discovered, the answer to the question of how do you clean silver is likely already waiting in your kitchen cabinets. From the surprising chemical magic of baking soda and foil to the professional finish of a polishing cloth, you now have a full toolkit of options to tackle any level of tarnish on any type of silver. The key is to choose the right method for the job and to always be gentle.
The real secret to beautiful silver isn’t just in the cleaning but in the regular care. By incorporating simple habits, like washing flatware immediately after use, wiping down jewellery with a soft cloth, and storing your pieces properly, you can dramatically slow down the tarnishing process.
So go ahead, open that jewellery box or cutlery drawer with confidence. Pick a method, try it out, and watch as that dull, forgotten silver transforms back into the dazzling, radiant treasure you love. With these five expert tips, you have everything you need to make your silver shine bright.
Reach out to Shri Krishna Jewels today! ✨💍📌
FAQs
Before I learn how do you clean silver, what actually causes it to tarnish?
Tarnish is the result of a chemical reaction called oxidation. It happens when silver comes into contact with sulfur-containing gases in the air. The main culprit is hydrogen sulfide. This reaction forms silver sulfide on the surface, which is the black, dull layer you see as tarnish.
Now that I know how do you clean silver, how often should I actually be doing it?
This depends on the item and how you use it. For silver jewellery you wear daily, a gentle wash with soap and water (Tip #5) every couple of weeks is a great idea. For sterling silver flatware, it should be washed immediately after each use.
Is the method for how do you clean silver also safe for my silver-plated items?
Yes, but you must be extremely careful. Silver-plated items have only a very thin layer of actual silver over a base metal (like copper or nickel). Aggressive scrubbing or harsh chemical soaks can easily wear away or strip this thin layer, exposing the metal underneath.
When learning how do you clean silver, are there any gemstones I need to be careful with?
Many gemstones, like pearls, opals, turquoise, coral, and malachite, are “porous” or soft. This means they can absorb liquids and are easily damaged by chemicals, even gentle ones like vinegar or the agents in the foil-and-baking-soda bath.
After I clean my silver, what is the best way to store it to prevent future tarnish?
Proper storage is the best way to prevent tarnish. The goal is to limit your silver’s exposure to air and humidity.