Introduction
Have you ever opened your jewellery box, ready to put on your favorite silver earrings, only to find they’ve lost their sparkle? Over time, even the most beautiful silver pieces can become dull and discolored due to tarnish from exposure to air and moisture. That brilliant shine gets hidden under a frustrating layer of grey or black, and figuring out how to shine silver at home can seem like a daunting task.
But don’t worry—you don’t need to rush to a professional jeweler or buy expensive, chemical-filled polishes to fix it. The secret to restoring that dazzling shine is likely already sitting in your kitchen pantry! Learning how to shine silver at home is an easy and rewarding skill that can bring your entire collection back to life using simple, everyday ingredients.
In this guide, we’ll walk you through 5 proven DIY techniques to restore your silver’s natural glow. We’ll break down each method step-by-step, explaining how it works and what items it’s best for, so you can choose the perfect remedy for your needs. Let’s explore these simple solutions and learn how to shine silver at home with confidence, with a little expert guidance from Shri Krishna Jewels.
✨Lemon Juice & Salt Scrub: Natural & Refreshing
For a completely natural, effective, and surprisingly fresh-smelling solution when you need to know how to shine silver at home, look no further than your fruit bowl. The natural acidity of lemon juice is a fantastic tarnish-buster, and when mixed with a little salt, it creates a powerful cleaning paste.
✅ Lemon’s acidity + salt’s grit = a gentle but powerful cleaning combo
This remedy works because the citric acid in the lemon chemically dissolves the silver sulfide (tarnish). The salt provides just enough gentle grit to help lift the loosened tarnish away from the surface. It’s a simple and direct approach for how to shine silver at home.
- Create the Paste: In a small bowl, mix about a tablespoon of salt with enough fresh lemon juice to form a thick paste.
- Application: Dip a clean, soft cloth into the paste and rub it gently onto your tarnished silver item.
- Let it Sit (Optional): For more stubborn tarnish, you can let the paste sit on the silver for about 5 minutes before rinsing.
- Rinse and Dry: Wash the item thoroughly with warm water to remove all the paste and buff it dry with a soft cloth.
✅ Works well on engraved and textured silver surfaces
Because you are applying this cleaner with a cloth or soft brush, you have excellent control, making it a great option for cleaning pieces with detailed patterns. This targeted technique is a useful skill when learning how to shine silver at home.
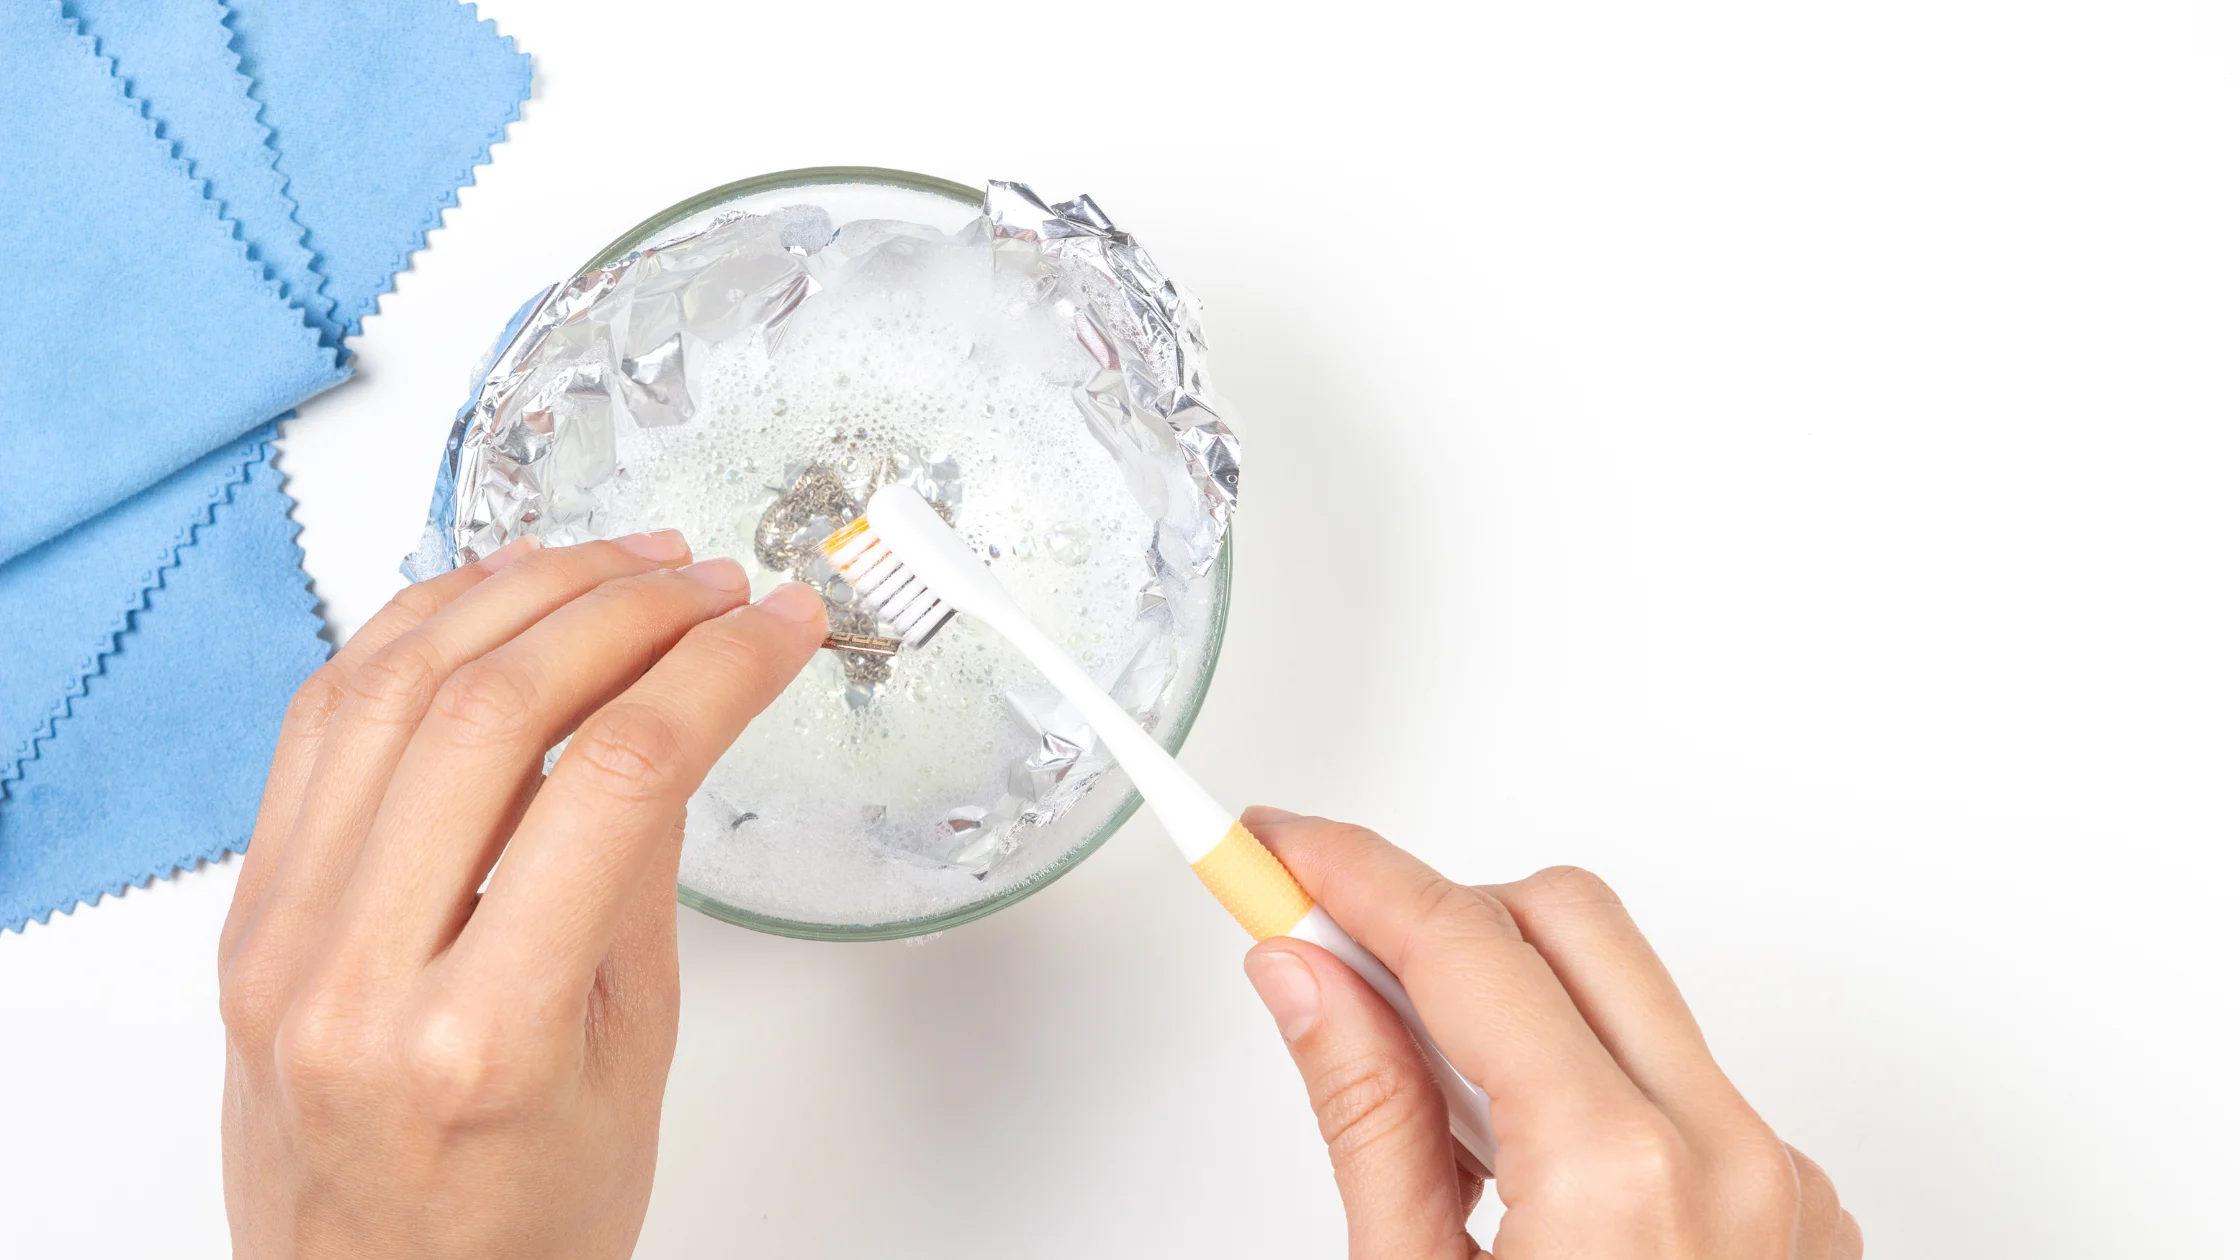
- Get in the Grooves: Use a soft-bristled toothbrush to gently work the lemon and salt paste into engravings, filigree work, or other intricate patterns.
- Targeted Cleaning: You can focus on specific areas of tarnish without having to soak the entire item.
✅ Leaves your silver clean and citrus-fresh
One of the unique benefits of this method for how to shine silver at home is the lovely, fresh scent it leaves behind—a welcome alternative to the sometimes harsh smells of chemical polishes.
- A Natural Deodorizer: Lemon is a natural cleaning and deodorizing agent.
- Enjoyable Process: The fresh citrus scent can make the task of cleaning your jewellery a much more pleasant experience.
💡 Tip: After applying the paste, be sure to rinse the silver with warm water and dry it immediately and thoroughly.
✨Baking Soda & Aluminum Foil Soak: Chemistry at Work
This classic method is a favorite for a reason—it feels like a magic trick, but it’s pure science at work. It uses an electrochemical reaction to lift tarnish right off the surface of your silver, meaning you can achieve a brilliant shine without any vigorous scrubbing or polishing. It’s one of the most effective and satisfying ways to learn how to shine silver at home.
✅ Combine hot water, baking soda, and foil for a chemical reaction that lifts tarnish
This process, known as ion exchange, cleverly transfers the tarnish (silver sulfide) from your silver objects to the aluminum foil. This is a fantastic technique for how to shine silver at home because you’re not scrubbing the tarnish away; you’re scientifically dissolving it.
- Gather Your Materials: You’ll need a heat-proof bowl, aluminum foil, baking soda, and very hot water. This is the first step in how to shine silver at home with this remedy.
- Prepare the Bath: Line the bowl completely with foil, making sure the shiny side is facing up.
- Add Your Silver: Place your tarnished items directly onto the foil, ensuring each piece is making contact.
- Activate the Reaction: Sprinkle a generous amount of baking soda (2-3 tablespoons should do) over the silver, then carefully pour boiling or very hot water to submerge everything completely. This is a key step in how to shine silver at home using this chemical reaction.
- Watch and Wait: Let the items soak for 5-15 minutes. You’ll see bubbles and might smell a faint sulfur scent—that’s the tarnish leaving your silver!
- Rinse and Dry: Use tongs to safely remove the items, rinse them thoroughly under cool water, and buff them completely dry with a soft cloth.
✅ Perfect for silver cutlery, chains, and anklets
This soaking method is ideal for items that have intricate details or hard-to-reach spots, making it a versatile technique for anyone wondering how to shine silver at home.
- For Cutlery: It’s an easy and efficient way to clean an entire set of sterling silver forks and spoons, making it a top tip for how to shine silver at home.
- For Chains: The soak easily cleans between delicate chain links and inside clasps where a cloth can’t reach.
- Important Note: Avoid this method for jewellery with porous stones like turquoise, pearls, or opals, as the heat and reaction can cause damage.
✅ Removes deep tarnish without harsh scrubbing
The primary benefit of this particular method for how to shine silver at home is its gentle, hands-off nature. The chemical reaction does all the heavy lifting, protecting your silver’s delicate surface from potential scratches.
- No Abrasion: This is crucial for preserving the finish of highly polished or antique silver pieces. This makes it a safe option for how to shine silver at home.
- Reaches Every Nook: The soaking process cleans intricate details, chain links, and engravings that are impossible to reach with a cloth.
- Less Effort, Better Results: It’s a simple and efficient way to tackle even the most stubborn, blackened tarnish.
💡 Tip: Add a pinch of salt to the baking soda before pouring the hot water. The salt acts as an electrolyte, helping to speed up the chemical reaction for an extra boost in cleaning power and an even brighter shine.
✨Toothpaste Polish: A Quick Shine Trick
It’s an old hack that has been passed down for generations, and it remains one of the fastest ways to tackle light tarnish when you’re in a hurry. It’s a very common answer when people ask how to shine silver at home.
✅ Non-gel toothpaste can gently buff away dullness and light tarnish
The key to this method’s success and safety is choosing the correct type of toothpaste. This is a crucial step when learning how to shine silver at home using this trick. Many people find this is the quickest way how to shine silver at home.
- The Right Choice: You MUST use a plain, simple, white, non-gel paste. The simpler, the better.
- What to Avoid: Steer clear of gel toothpastes or any formulas that advertise “whitening” or “tartar control” or contain colorful crystals. These have harsher abrasive particles that will scratch your silver.
✅ Apply with a soft cloth or brush, rinse, and dry thoroughly
This is a simple, five-minute fix that can make a surprising difference on lightly tarnished pieces. Following these steps is essential for how to shine silver at home with toothpaste.
- Application: Apply a small, pea-sized amount of toothpaste to a soft, damp cloth or an old, very soft-bristled toothbrush.
- Polish Gently: Rub the tarnished area with gentle, back-and-forth motions (not circles).
- Crucial Rinse: Rinse the item completely under warm running water. It’s very important to remove all toothpaste residue, as it can be corrosive if left on the silver.
- Buff Dry: Dry the piece thoroughly with a soft cloth to prevent water spots and reveal the sparkle.
✅ Great for rings, bracelets, and earrings
This method is best reserved for quick touch-ups on small, durable silver items rather than large, precious pieces. Understanding its limitations is part of knowing how to shine silver at home responsibly.
- Ideal Use Cases: It’s perfect for quickly shining up a silver ring you wear daily, a pair of simple earrings, or a sturdy silver bracelet.
- Where to Be Cautious: Avoid using toothpaste on large, flat, mirror-finish surfaces like serving trays or photo frames where micro-scratches would be more visible.
📌Need a fast fix? Reach for your toothbrush and toothpaste for instant silver sparkle! It’s the ultimate “in a pinch” solution for how to shine silver at home.
✨Vinegar Soak with Baking Soda: The Fizzy Fix
This dynamic duo from your kitchen pantry creates a fizzy, bubbling reaction that does a great job of loosening and removing moderate tarnish. This is another great solution for how to shine silver at home.
✅ Mix white vinegar with baking soda for a bubbling cleanse
This method uses the mild acetic acid in vinegar and the gentle cleaning properties of baking soda to tackle tarnish. The fizzing action helps to agitate and lift the discoloration from the silver’s surface.
- The Recipe: In a glass bowl, combine a half-cup of white vinegar with two tablespoons of baking soda. The mixture will start to bubble and fizz immediately.
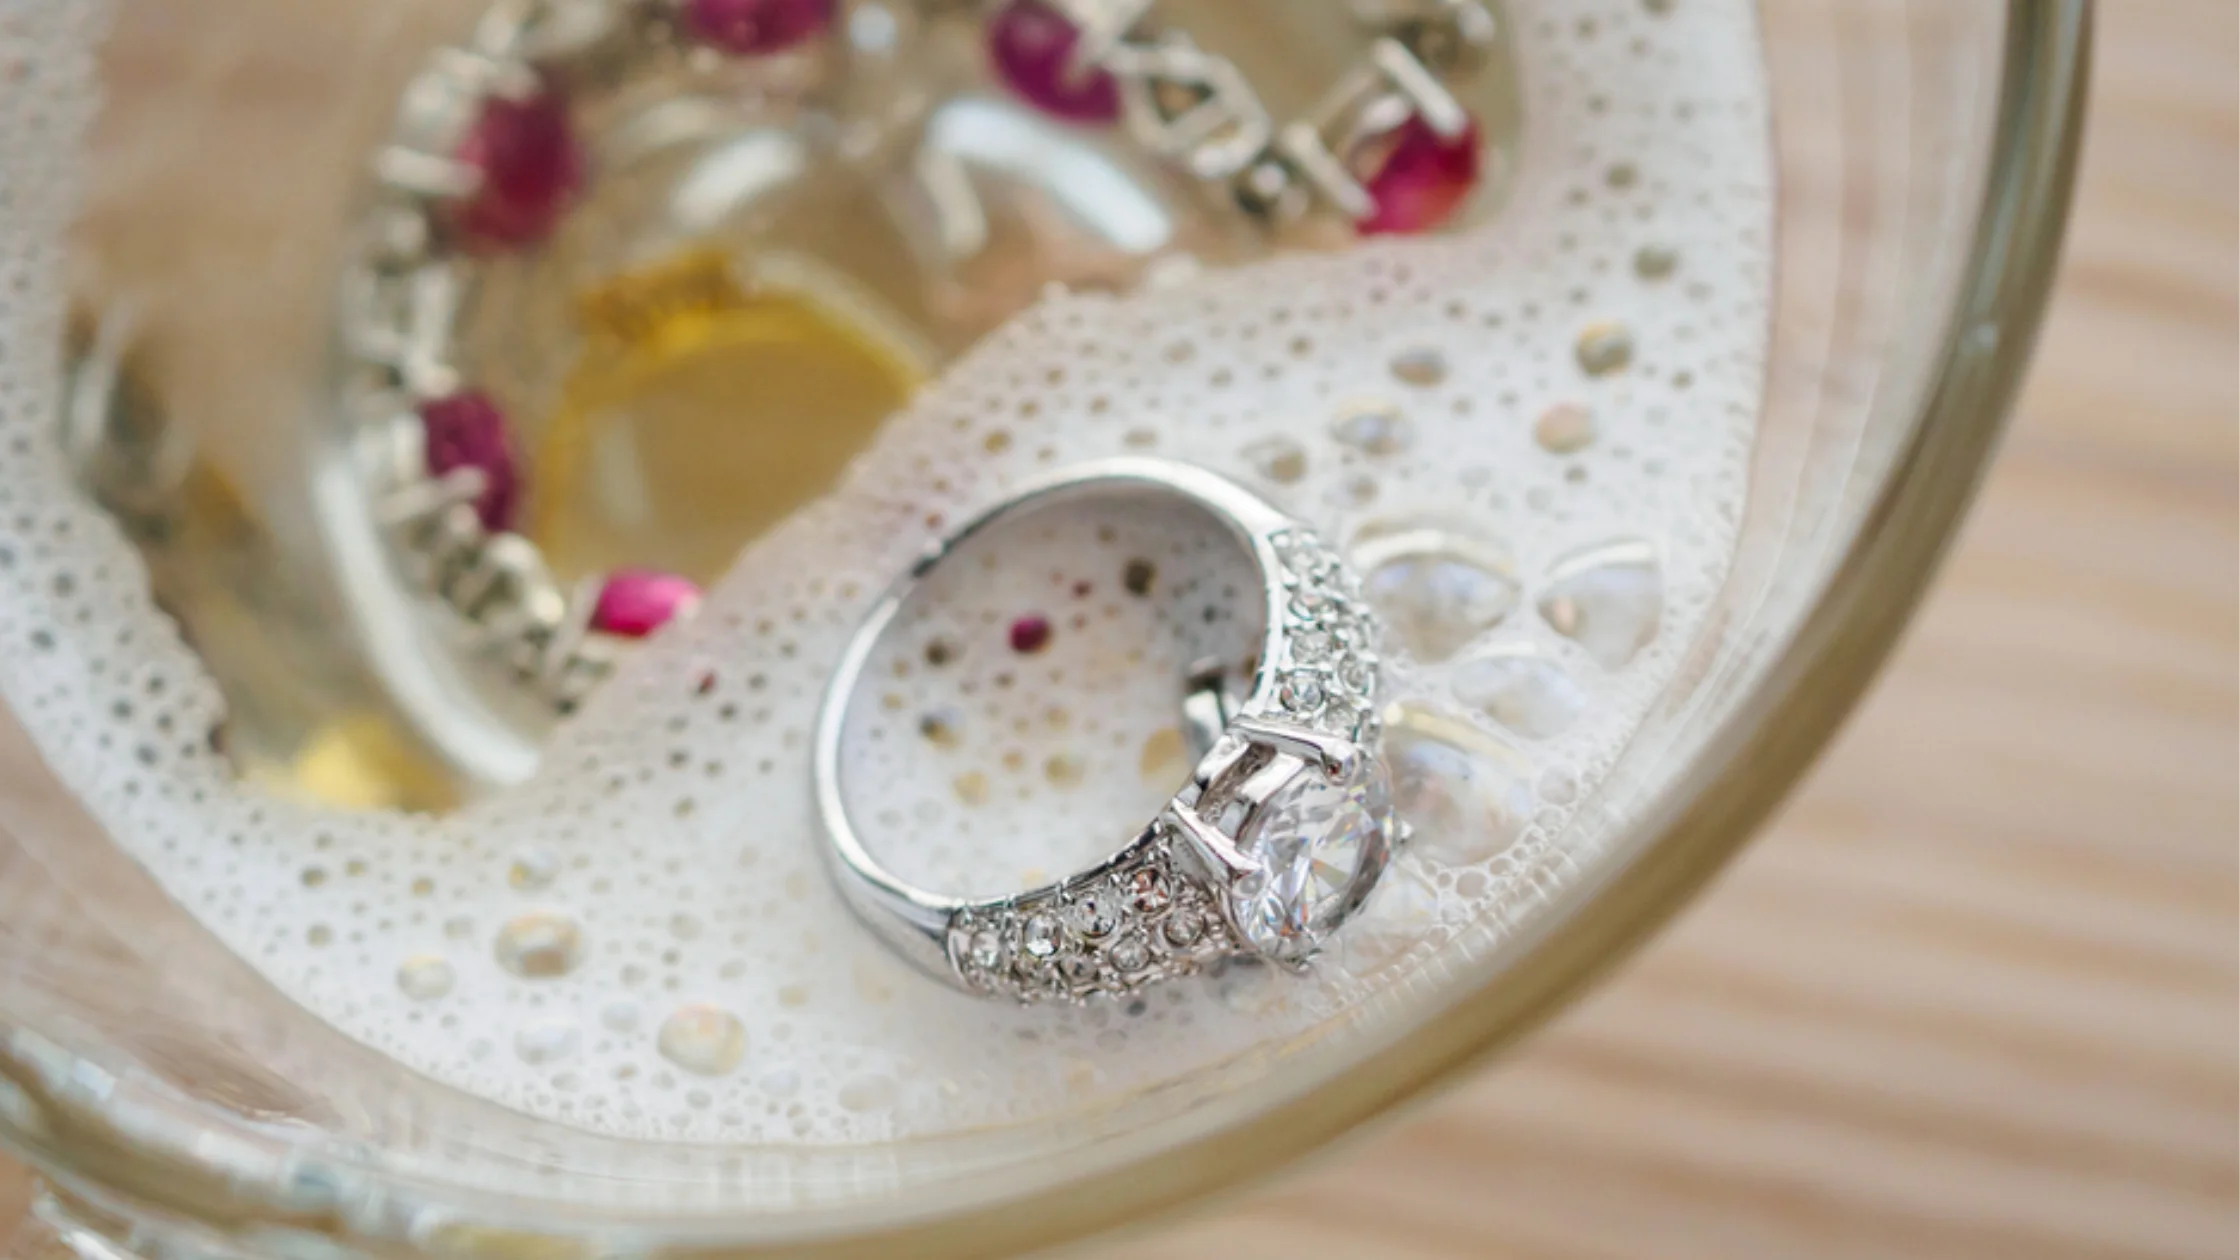
- Submerge Your Silver: Place your silver items directly into the solution while it’s still fizzing.
✅ Soak for 2–3 hours, rinse, and wipe clean
This is a patient method that allows the gentle chemical reaction to work over time, making it a great “set it and forget it” solution for how to shine silver at home.
- Let It Soak: Leave the silver in the solution for at least two hours, or up to three for more significant tarnish.
- Rinse Thoroughly: After soaking, remove the items and rinse them completely under cool, running water.
- Final Buff: Use a soft, dry cloth to buff the pieces until they are shiny and completely dry.
✅ Great for restoring old jewellery or tarnished decorative items
This deep-cleaning soak is well-suited for a variety of items that can be fully submerged and are in need of a good revival. It’s a reliable solution if you want to know how to shine silver at home using a soaking method.
- Jewellery Revival: It’s great for bringing back the sparkle to old silver chains, pendants, and bracelets.
- Decorative Pieces: Use it to clean small silver bowls, candle holders, or other decorative items that have become dull over time.
- An Important Note: As this method is acidic, avoid using it on silver with soft or porous stones like pearls or turquoise.
💡 Tip: For the final buff, always use a soft microfiber cloth. The ultra-fine fibers are excellent at picking up any remaining residue and polishing the silver to a brilliant, streak-free shine.
✨Cornflour Paste Buff: Soft and Safe for Delicate Silver
When you’re dealing with very delicate, valuable, or antique silver, the gentlest approach is always the best. This is the safest method for how to shine silver at home.
✅ Make a thick paste with cornflour and water, apply, let dry, then polish
This clever method uses the absorbent properties of fine cornflour particles to gently pull tarnish from the silver’s surface as the paste dries. It’s a straightforward process for how to shine silver at home.
- Create the Paste: In a bowl, mix cornflour with a small amount of water until it forms a thick, smooth paste, similar in consistency to toothpaste.
- Apply a Layer: Use your fingers or a soft cloth to completely cover the tarnished silver item with a layer of the paste.
- Let It Dry Completely: This is the most important step. Set the item aside and allow the paste to dry fully until it’s hard and crumbly.
- Buff It Away: Once dry, use a clean, soft cloth (microfiber is perfect) to gently buff the dried paste off the silver. The tarnish will lift away with the powder, completing the process of how to shine silver at home.
✅ Ideal for antique or heirloom pieces that need gentle care
This is the safest DIY option for your most irreplaceable items. If you are nervous about how to shine silver at home without causing damage, this is the method to choose.
- Completely Non-Abrasive: The fine cornflour powder polishes without leaving any scratches.
- No Harsh Chemicals: This remedy is 100% natural and free from any acids or chemicals that could harm delicate pieces.
- Preserves Patina: It is gentle enough to remove black tarnish without stripping away the soft, grey patina that gives antique silver its character and value.
✅ Leaves a smooth, even finish on all silver surfaces
The result of this method is a soft, luminous, and even shine that looks professionally buffed. This makes it a top-tier technique for how to shine silver at home.
- Gentle Polishing: The fine particles provide a very gentle polish as you buff the paste away.
- High-Gloss Finish: For an extra-gleaming result, use a clean microfiber cloth for the final buff to bring out a brilliant, smooth finish.
📌Want a safe method for sensitive silver? This one’s both easy and effective for your most precious heirlooms!
✨ Conclusion
There you have it—five simple, proven, and effective DIY techniques to say goodbye to tarnish and hello to a brilliant, beautiful shine! As you’ve discovered, you don’t need to rely on expensive or potent chemical polishes to get professional-quality results. The answer to the question of how to shine silver at home can be answered with everyday items like baking soda, vinegar, and lemon juice. Knowing how to shine silver at home is an invaluable skill.
Learning these simple DIY techniques is empowering. It gives you the confidence to care for your treasured items—from everyday jewelry to family heirlooms—safely, affordably, and naturally. By understanding which method works best for each type of item, you can keep your entire collection looking its absolute best for years to come. You are now an expert on how to shine silver at home.
So the next time you find a piece of tarnished silver, don’t put it back in the drawer. Pull out your pantry staples, choose your favorite method for how to shine silver at home, and enjoy the simple satisfaction of bringing that beautiful shine back to life. Happy cleaning!
Reach out to Shri Krishna Jewels today! ✨💍📌
FAQs
What is the fastest way how to shine silver at home if I’m in a hurry?
The fastest method is undoubtedly the Toothpaste Polish (Tip #3). Using a small amount of non-gel toothpaste and a soft cloth, you can buff a small item like a ring or a pair of earrings to a shine in just a few minutes. It’s the perfect last-minute fix when you need to know how to shine silver at home quickly.
Why does my silver tarnish, and can I stop it completely?
Silver tarnishes when it reacts with sulfur compounds in the air, a process called oxidation. You can’t stop it completely, but you can slow it down significantly. After you learn how to shine silver at home, the best prevention is to store your clean silver in an airtight bag or a tarnish-resistant cloth to limit its exposure to air and humidity.
Of all these methods, which is the absolute safest for very old or valuable antique silver?
The Cornflour Paste Buff (Tip #5) is the safest and most gentle method for valuable antiques. It is completely non-abrasive and contains no acids or chemicals, so it will remove tarnish without scratching the silver or stripping away its valuable, age-related patina.
Can I use these techniques on silver-plated jewellery?
Yes, but you must be extremely cautious. Silver plating is a very thin layer of silver over another metal. The gentlest methods, like the cornflour paste, are the safest bets when you’re figuring out how to shine silver at home if it’s plated. Always be gentle and never scrub.
After I learn how to shine silver at home, what’s the most important final step?
The most important final step is to dry your silver completely. Any moisture left behind will accelerate the tarnishing process and can leave water spots. Always use a soft, clean, lint-free cloth to buff your silver until it is 100% dry before storing it away.